How to Reduce Valve Leakage in High-Pressure Lines
Persistent valve leakage in high pressure lines usually traces to seat wear, packing failure, or incorrect sizing. This guide lists common symptoms, likely causes, and fixes in a table, then covers prevention tips to keep critical lines sealed and reliable.
- Most high pressure valve leaks come from worn seats, damaged packing, or gasket failure rather than a single part.
- A short table maps common symptoms to likely causes and the specific action a technician should take.
- Prevention depends on matching valve type and pressure class to the service, checking torque, and tracking maintenance history.
- Do not rely on visual inspection alone. A pressure test after repair proves the seal has held.
- Keep valve body material and gasket material compatible with the fluid to avoid chemical attack.
Why valve leakage happens in high pressure service
Valve leakage in high pressure lines is rarely a mystery. It usually comes from a few repeating failure modes. A seat that has worn unevenly. Packing that has hardened or torn under thermal cycling. A gasket that compressed past its limit. A body that cracked from fatigue or corrosion. When these failures appear, the symptom is often a small drip or a pressure drop, but the underlying cause is mechanical, not mysterious.
In critical pipe lines, even a small leak can turn into a shutdown. A steam line with a leaking gate valve can lose pressure and force a full blow-down. A gas line with a leaking ball valve can create a flammable atmosphere. A water line with a leaking flange can flood a pump room. The cost of the leak is never just the fluid. It is the downtime, the risk, and the rework.
This guide focuses on how to identify the cause of persistent leakage and how to fix it properly. It covers common symptoms, likely causes, and the specific maintenance actions that stop the leak. It then moves into prevention, because the best repair is the one that avoids the next leak.
Symptoms that point to a specific cause
The first step is to classify the leak. A leak that appears in one place and behaves in one way is easy to diagnose. A leak that appears in several places at once is a system problem, not a valve problem.
A common symptom is a steady drip from the valve stem when the valve is closed. This usually points to packing failure. The packing is the set of rings or graphite that seals around the stem. When it wears, hardens, or tears, fluid escapes along the stem. The leak is often small at first, but it grows as the packing compresses further.
Another symptom is a leak from the body flange when the valve is closed. This often points to gasket failure or bolt torque loss. The gasket is the ring between the valve body and the pipe flange. If it is the wrong material, the wrong thickness, or the wrong temperature rating, it will not hold. If the bolts are not torqued to specification, the gasket will not be compressed evenly. A small gap at one bolt location can leak.
A third symptom is a leak from the seat when the valve is open or closed. This points to seat wear or damage. The seat is the surface that the disk or ball seals against. In a gate valve, the disk wears the seat. In a ball valve, the ball wears the seat. In a check valve, the flapper or disk wears the seat. When the seat is worn, the seal no longer meets the surface evenly. The leak can be small or large, depending on the wear pattern.
A fourth symptom is a pressure drop that does not change with valve position. This can point to internal leakage, such as a cracked body or a failed internal liner. In some valves, the body itself is the seal. If the body cracks, the pressure drop will not respond to opening or closing the valve.
A fifth symptom is a leak that appears only under load. The valve leaks when the line is pressurized to full operating pressure, but not during a low pressure test. This points to a seal that is at its limit. A gasket that is slightly under-sized. A packing that is at the end of its life. A seat that is worn to the point of marginal contact. Under full load, the seal fails.
Troubleshooting table for common valve leakage symptoms
The table below maps common symptoms to likely causes and the specific action a technician should take. Use it as a first pass. If the leak persists after the listed action, escalate to body inspection or replacement.
| Symptom | Likely cause | What to do |
|---|---|---|
| Steady drip from the valve stem when closed | Worn or damaged packing; over-tightened packing; thermal cycling damage | Isolate the valve. Replace the packing set. Torque the gland nut to specification. Do not over-torque. |
| Leak from the body flange when closed | Gasket failure; bolt torque loss; flange face damage | Isolate the valve. Replace the gasket. Torque the flange bolts in a cross pattern to specification. Check flange faces for scoring. |
| Leak from the seat when the valve is closed | Seat wear; disk or ball damage; debris in the seat | Isolate the valve. Inspect the seat and disk. Replace the seat if worn beyond tolerance. Clean debris. Replace the disk if scored. |
| Pressure drop that does not change with valve position | Cracked body; failed internal liner; internal corrosion | Isolate the valve. Perform a pressure test. Inspect the body for cracks. Replace the valve if the body is compromised. |
| Leak that appears only under full operating pressure | Seal at its limit; gasket under-sized; packing at end of life | Isolate the valve. Replace the seal components with the correct size and material. Verify the pressure rating matches the line. |
| Intermittent leak that appears after a shutdown | Thermal cycling; debris shifted during flow stop; bolt relaxation | Isolate the valve. Re-torque the flange bolts. Inspect the packing and gasket for thermal damage. Clean the seat. |
This table covers the most common scenarios. If the leak is not in this list, treat it as a body or system issue. Do not keep replacing the same part. The part is a symptom, not the cause.
How to isolate and inspect the valve safely
Before you open a valve, you must isolate it. This is not optional. A high pressure line can store enough energy to cause serious injury. The valve must be isolated from both upstream and downstream. Lockout and tagout must be applied. The line must be depressurized and drained where possible.
Once isolated, inspect the valve in a defined order. Start with the external. Check the body for cracks, corrosion, or weld damage. Check the flange faces for scoring, gasket residue, or deformation. Check the bolts for stretch, corrosion, or missing threads. Check the stem for bending or scoring.
Then inspect the seal surfaces. For a gate valve, remove the yoke and inspect the disk and seat. The seat should be smooth and free of deep grooves. The disk should be smooth and free of pitting. If the seat is worn beyond the manufacturer specification, replace it. If the disk is scored, replace it. A worn seat and a scored disk will continue to leak even after a new gasket is installed.
For a ball valve, remove the bonnet and inspect the ball and the seats. The ball should be smooth and free of dents. The seats should be smooth and free of deep grooves. In some ball valves, the seats are replaceable. In others, they are fixed. If the seats are worn, replace the ball or the entire valve.
For a check valve, remove the bonnet and inspect the flapper or disk and the seat. The flapper should be flexible and free of hardening. The seat should be smooth and free of debris. If the flapper has hardened, replace it. If the seat is worn, replace it.
After inspection, clean the seal surfaces. Use a solvent that is compatible with the fluid service. Do not use abrasive pads on the seat or disk. A single scratch can create a permanent leak path. Dry the surfaces completely before reassembly.
Maintenance practices that stop the next leak
Prevention is the most effective way to reduce valve leakage. A valve that is maintained properly will not fail at the first sign of wear. The goal is to keep the seal components within their design limits and to catch small problems before they become large ones.
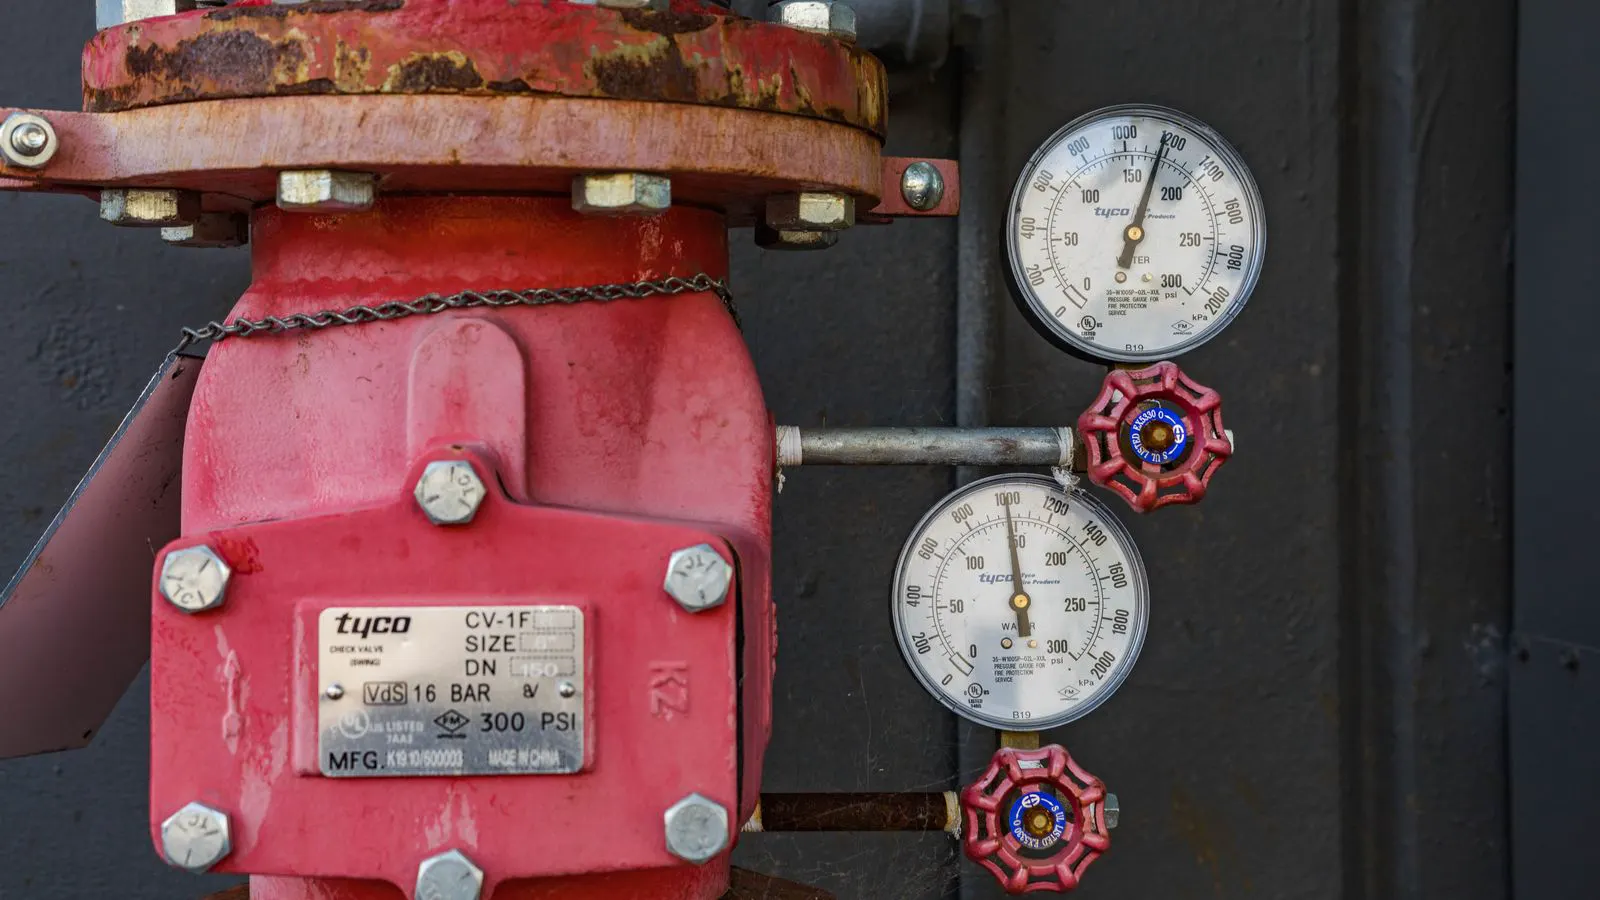
The first prevention practice is to match the valve to the service. A valve must be rated for the maximum pressure, temperature, and fluid in the line. A valve rated for 150 psi will not hold 250 psi. A valve rated for 200 degrees F will not hold 350 degrees F. A valve rated for water will not hold a corrosive chemical. Check the valve nameplate. Check the specification sheet. Check the line design document. If the valve is not matched to the service, replace it.
The second prevention practice is to control torque. Flange bolt torque is not a guess. It is a calculation based on bolt size, gasket material, flange material, and pressure. Use a calibrated torque wrench. Torque the bolts in a cross pattern, not in a sequence that leaves one side loose. Re-torque after the first thermal cycle. A flange that is torqued correctly at cold temperature can loosen when it heats up.
The third prevention practice is to track maintenance history. Keep a record of every valve that has leaked. Record the date, the symptom, the cause found, and the part replaced. If the same valve leaks twice in a short period, the root cause is not the part. It is the service, the sizing, or the installation. Use the history to identify patterns. A valve that leaks after every shutdown may need a different packing material. A valve that leaks after every pressure cycle may need a different gasket.
The fourth prevention practice is to inspect gaskets at the right time. Do not wait for a leak to inspect the gasket. Inspect the gasket during planned maintenance. Check for compression set. Check for tears. Check for chemical attack. A gasket that has compressed past its limit will not seal, even if it looks intact. Replace it before it fails.
The fifth prevention practice is to protect the valve from debris. A filter upstream of the valve protects the seat and the disk from abrasive particles. A strainer removes large debris. Without a filter, a small particle can sit on the seat and prevent a full seal. The leak may appear only when the flow stops, because the particle shifts. A filter is a cheap insurance policy.
When to replace the valve instead of repairing it
Sometimes the valve is not worth repairing. The cost of repair, the risk of a future leak, and the downtime for the repair can exceed the cost of a new valve.
Replace the valve if the body is cracked. A cracked body cannot be repaired in the field. It must be replaced. A cracked body will fail under pressure, and the failure can be sudden.
Replace the valve if the seat and disk are both worn beyond tolerance. A new disk on a worn seat will not seal. A new seat on a worn disk will not seal. The pair must be replaced together.
Replace the valve if the packing is damaged beyond repair. In some valves, the packing is replaceable. In others, the stem is integral. If the stem is scored or the packing gland is damaged, the valve is not worth repairing.
Replace the valve if the gasket has failed repeatedly. If a gasket fails every six months, the flange face is damaged or the pressure is too high. A new gasket on a damaged flange face will fail again. Replace the valve or the flange.
Replace the valve if the service has changed. If the fluid, pressure, or temperature has changed, the original valve may no longer be rated for the service. A valve that worked for water may not work for a hot chemical. Replace it with a valve rated for the new service.
Final checks before returning the valve to service
Before you return the valve to service, perform a final set of checks. These checks are not optional. They are the difference between a repaired valve and a valve that will leak again.
Check the torque. Re-torque the flange bolts to specification. Use a calibrated torque wrench. Do not guess.
Check the packing. The gland nut should be tight enough to stop the leak, but not so tight that it binds the stem. If the stem is hard to turn, the packing is over-tightened. Back off the gland nut until the stem moves freely.
Check the gasket. The gasket should be the correct material, thickness, and size. It should be seated evenly in the flange groove. There should be no gap at any bolt location.
Check the pressure test. After the valve is reassembled, perform a pressure test at the operating pressure. Hold the pressure for the required time. Watch for a drop. If the pressure holds, the seal is good. If the pressure drops, isolate the valve and re-inspect the seal.
Check the documentation. Record the repair date, the parts replaced, the torque values, and the pressure test results. This record is part of the maintenance history. It will be the first thing checked when the valve leaks again.
By following these steps, you reduce the chance of a repeat leak. You also create a record that helps the next technician. A valve that is repaired well and documented well is a valve that stays in service.
Frequently asked questions
Can a valve leak be fixed with a new gasket alone?
Sometimes. If the leak is from the flange and the gasket is the only failed part, a new gasket will fix it. If the leak is from the seat or stem, a new gasket will not fix it. You must identify the actual source.
How often should I inspect valve packing?
Inspect the packing during every planned maintenance. Also inspect it if you notice a drip or if the line has gone through a thermal cycle. Do not wait for a full leak to inspect the packing.
What is the difference between a gate valve leak and a ball valve leak?
A gate valve leak usually comes from the seat and disk pair or the packing. A ball valve leak usually comes from the ball and seat pair or the packing. The repair steps are similar, but the seal surfaces are different.
Can I use a different gasket material to reduce leakage?
Yes, but only if the new material is rated for the pressure, temperature, and fluid. A gasket that is not rated for the service will fail. Check the specification before changing the material.
Is a pressure test required after every valve repair?
Yes. A pressure test proves that the seal holds under operating conditions. Without a test, you are guessing that the leak is fixed. The test is the only way to confirm it.